Why Transit Maps Look Confusing (And Why They're Not)
Standing in a Tokyo or Paris metro station for the first time, staring at a wall of colored lines and unfamiliar station names, can feel genuinely overwhelming. But transit maps aren't designed to mirror real-world geography - they're designed to show connections. Once you accept that, the visual logic clicks into place quickly.
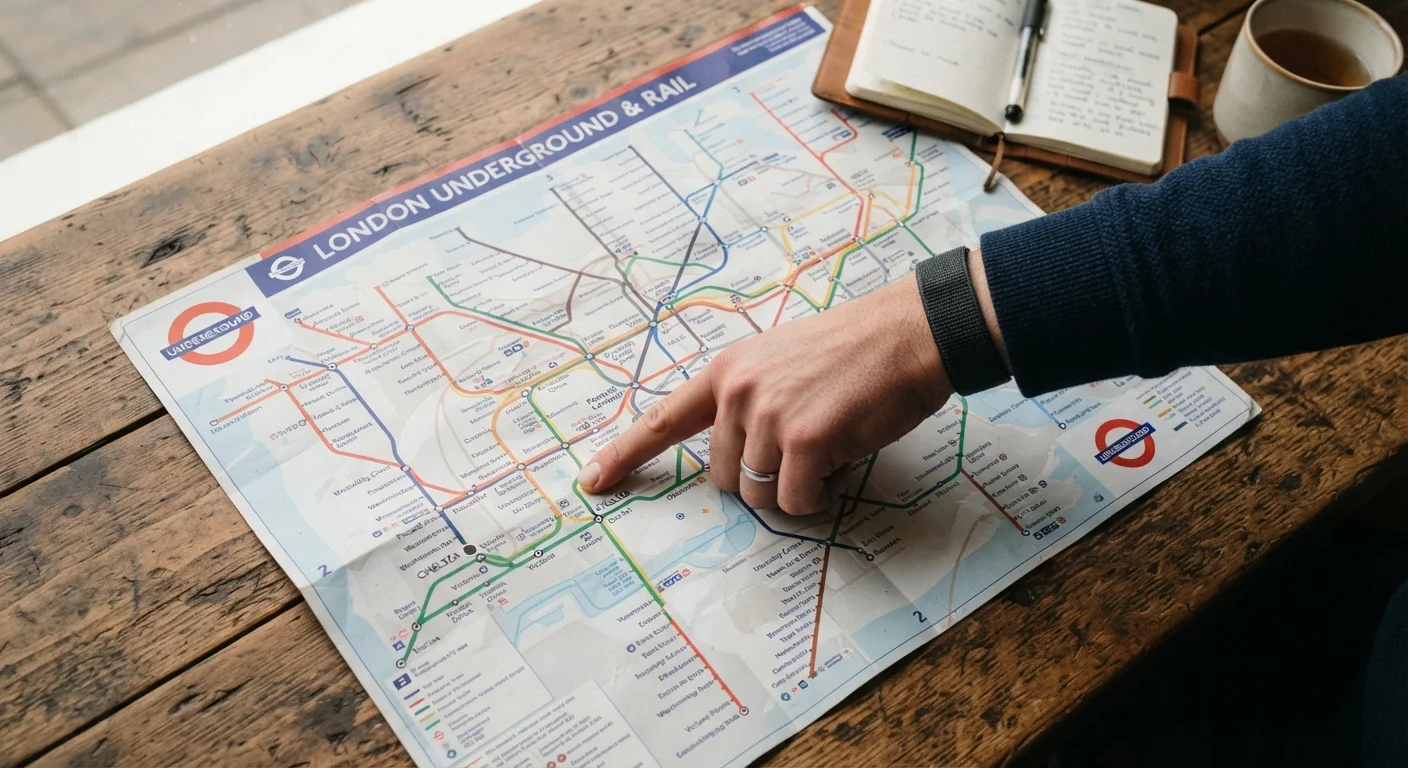
The modern transit map traces its DNA to Harry Beck's 1931 London Underground diagram, which deliberately distorted distances and angles to make the network readable at a glance. Almost every metro system in the world has borrowed this approach. That means the patterns you learn in one city carry directly to the next.
What you will need
Tools You'll Want Before You Start
You don't need much - but having the right resources on hand makes reading a new map significantly faster.
Official Transit Authority Map
The most accurate and up-to-date schematic of the network - download it as a PDF before departure so it's available offline.
Offline Navigation App
Apps with downloaded offline maps can calculate routes, flag transfer points, and display real-time departures where data is available.
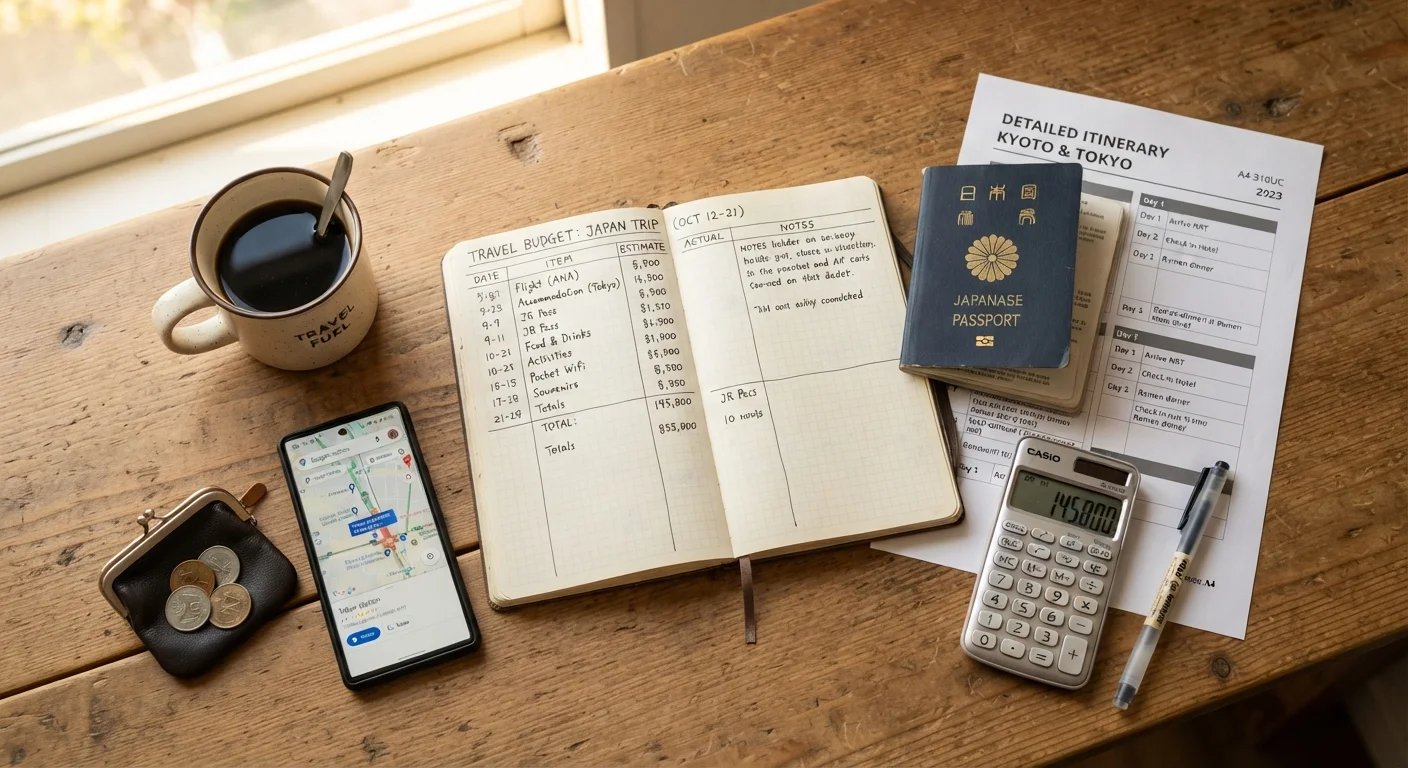
Translation App with Camera Mode
Allows you to point your phone at non-Latin signage (Japanese, Arabic, Korean) and see an instant translation overlaid on the image.
Small Notepad or Notes App
Writing your route - line, direction, transfer station, destination - gives you a quick reference without reopening the map underground.
Step-by-Step: Reading Any Transit Map
Work through these steps the first time you pick up an unfamiliar transit map, whether you're planning from home or standing at the station.
Find the Legend First
Before you trace any route, locate the map's legend or key - usually in a corner box. Confirm what each color represents (a line, a zone, a type of service), whether numbers or letters identify lines, and what any dotted or dashed lines mean. Dashed lines often indicate planned or seasonal service, not currently running trains.
Identify the Termini (End Stations)
Each line runs between two terminus stations - the final stops at either end. These names appear on platform signage and inside trains to indicate direction of travel. Before boarding, identify which terminus is in the direction you need. If you're heading toward the center from an outer station, you want the terminus on the opposite (city-center) side of your destination.
Locate Your Starting Station and Destination
Find both stations and note their line colors or numbers. If they share the same line, your route is straightforward - no transfers needed. If they're on different lines, find a transfer station (usually marked with a larger circle or a multi-ring symbol) where the lines intersect. Most journeys across a major city involve one or two transfers.
Count the Stops, Not the Distance
On a schematic transit map, visual distance between stations is meaningless - two adjacent dots could be 400 meters or 4 kilometers apart in reality. Instead, count the number of stops between your starting point and your destination. This gives you a realistic sense of journey time: most urban rail systems average roughly 2-3 minutes per stop once moving.
Check for Fare Zones
Many systems - including those in London, Paris, and Washington D.C. - divide their network into concentric fare zones. Your ticket price depends on how many zones you cross, not just how many stops you ride. Identify your starting zone and destination zone on the map before purchasing. Buying the wrong fare zone is one of the most common and easily avoidable mistakes travelers make.
Verify the Route at the Platform
Once you've planned your route on paper or in your head, confirm it at the platform using posted signage. Look for the line identifier (color, number, or letter), the direction of travel (terminus name), and - on digital screens - the next train's actual destination. These three data points, matched against your plan, confirm you're in the right place before the train arrives.
Common Pitfalls and How to Avoid Them
Even experienced travelers make a few predictable mistakes when navigating a new transit system.
Don't Rely Solely on a Single App
Navigation apps occasionally have outdated route data, especially after line extensions, temporary closures, or service changes. Always cross-check your planned route against official posted signage at the station entrance. Transit authorities typically post service alerts at turnstile entrances - scan them before descending to the platform.
Assuming frequency is uniform: On many systems, some lines run every 2-3 minutes during peak hours but only every 15-20 minutes late at night or on weekends. Always check posted timetables at the platform rather than assuming the next train is right around the corner.
Confusing line color with train color: The line on the map may be blue, but the physical train or platform signage sometimes uses a number or letter code instead. Cross-reference both - most modern transit apps surface both identifiers.
Missing the last car position: In some systems (notably in Japan and parts of Europe), different cars stop at different exits. If you need a specific exit, checking a station-specific platform map - usually posted on pillars - saves a long walk underground.
Use Station Codes as a Backup
Many international systems assign each station a short alphanumeric code (e.g., T3, M12) that appears on maps, platforms, and inside cars. These codes are language-neutral and easy to match even when you can't read the local script. If you're unsure you've reached the right stop, cross-check the code posted on the platform column against the code on your map.