Why a Full Gut Renovation Often Isn't Necessary
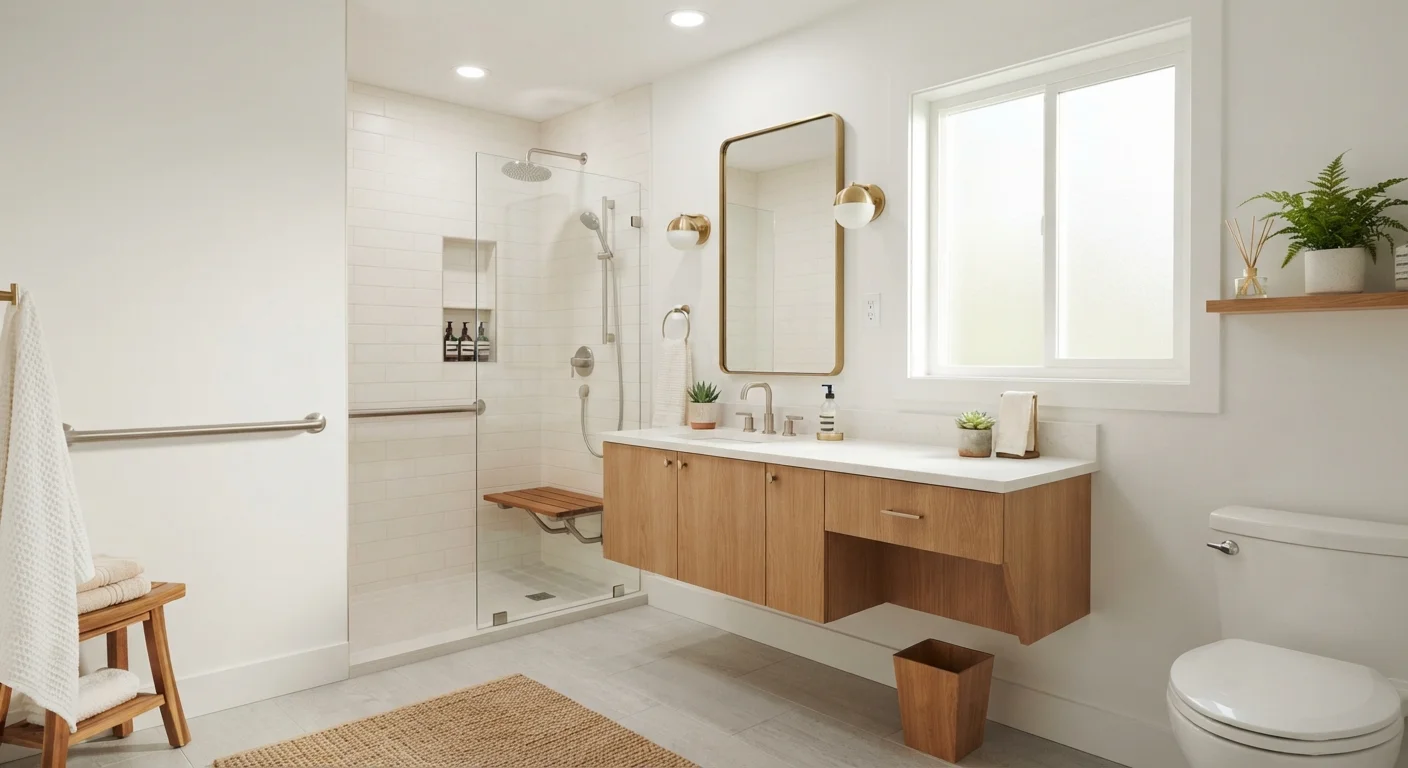
A full bathroom gut renovation - removing tile, replacing the tub, relocating plumbing - can easily run into the tens of thousands of dollars and take weeks to complete. For most homeowners, that level of disruption and cost simply isn't warranted when the underlying bones of the bathroom are sound.
The good news: the elements that make a bathroom feel dated or dingy are usually cosmetic. Stained grout, builder-grade light fixtures, a scratched vanity mirror, and worn faucets are the culprits in the vast majority of cases. Addressing those specifically - without touching what's behind the walls - delivers a dramatic result at a fraction of the price.
Before diving into any project, it's worth doing a quick planning pass. Our room-by-room planning checklist helps you identify what actually needs attention versus what just needs a cleaning. And if you're curious which upgrades genuinely affect a home's market value, see what the evidence actually shows.
What you will need
What You'll Need
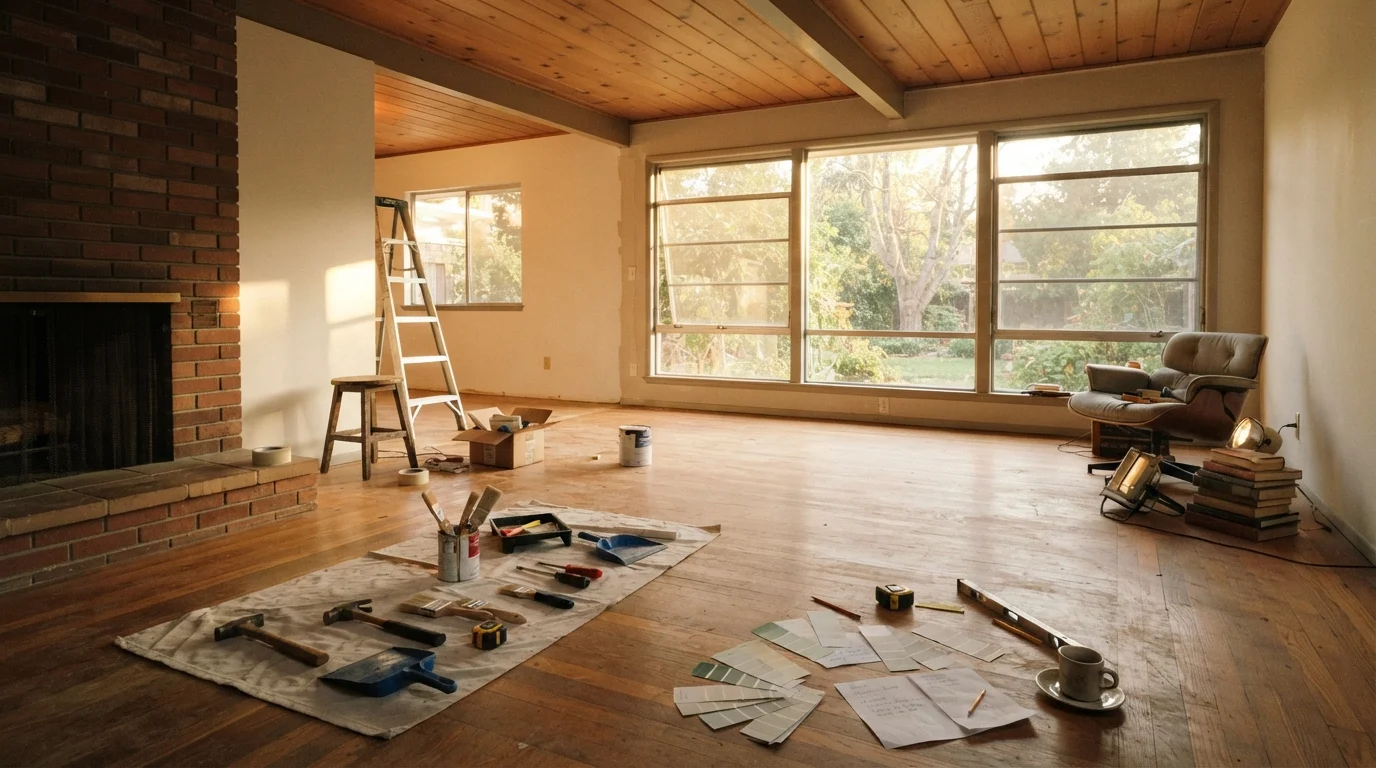
Gather your materials before starting so the project doesn't stall mid-task. These tools and supplies cover the most impactful refresh steps described below.
Caulk gun and mold-resistant caulk
Used to re-seal joints around the tub, shower, and sink where old caulk has cracked or discolored.
Screwdriver set (flathead and Phillips)
Required for removing and replacing hardware, switch plates, towel bars, and toilet seat.
Grout pen or grout paint
Used to refresh discolored grout lines without re-grouting, restoring a clean tile appearance.
Painter's tape and low-odor interior paint
Used to repaint walls or an accent section for a fast cosmetic transformation.
Adjustable wrench
Needed to swap out a faucet aerator or tighten supply connections under the sink.
Utility knife and caulk remover tool
Used to cut out and fully remove old, failing caulk before applying fresh sealant.
Step-by-Step: The Refresh Sequence
Order matters here. Working from top to bottom and from surfaces to accessories prevents you from smudging fresh paint or damaging newly installed hardware. For a deeper look at sequencing logic, see the renovation sequence that prevents costly rework.
Deep clean and assess the true condition
Before spending a dollar, clean every surface thoroughly - tile, grout, fixtures, and the toilet base. Mineral deposits on fixtures and soap scum on tile can mimic permanent damage. Use a grout brush and a bathroom-appropriate cleaner on tile lines. Once clean, reassess: much of what looks like a replacement job may simply need maintenance.
Remove and replace old caulk
Use a utility knife or caulk remover tool to cut out all caulk around the tub surround, shower pan, and sink edges. Remove every trace - new caulk won't bond properly over old. Wipe the area dry and let it sit for at least two hours. Apply a fresh bead of mold-resistant caulk in a single smooth pass, then smooth with a wet finger or caulk tool. Allow to cure per the manufacturer's instructions before using water.
Refresh grout lines
If tile grout is discolored but structurally intact (no crumbling or missing sections), a grout pen or grout paint can restore a bright, uniform appearance in under an hour. Work in small sections, following the product directions. This step alone can make decade-old tile look freshly installed.
Swap out hardware and accessories
Towel bars, toilet paper holders, robe hooks, and switch plate covers are almost always held by two screws. Replacing them with a consistent finish - brushed nickel, matte black, or polished chrome - creates visual cohesion that signals a deliberate design choice. Bring your old hardware to compare hole spacing before purchasing replacements to avoid drilling new holes.
Upgrade the vanity mirror and light fixture
The mirror and light fixture sit at eye level and draw immediate attention. A frameless builder mirror can be replaced with a framed mirror using only wall anchors. For the light fixture, turn off the circuit breaker for that bathroom circuit and confirm power is off with a non-contact voltage tester before touching any wiring. If you are not comfortable with this step, hire a licensed electrician - it's a short job and worth the cost of doing it safely.
Paint the walls and refresh the ceiling
Bathroom paint should be labeled for high-humidity environments to resist peeling. Tape off tile, fixtures, and trim carefully. Roll the walls first, then cut in around edges with a brush. One or two coats of a fresh neutral or accent color will tie together your new hardware and fixtures into a coherent look.
Small Swaps, Big Visual Return
Replacing a toilet seat is one of the most underrated refresh moves - it takes under 15 minutes with a screwdriver and immediately improves the look of one of the room's most visible fixtures. Similarly, a new shower curtain and coordinating rings can shift the entire color palette of the room for minimal cost.
When to Call a Professional
Most of the steps above fall within the reach of a careful DIYer. However, a few situations warrant a licensed professional:
- Electrical work: Replacing a light fixture involves working with your home's wiring. If you are not comfortable identifying and safely isolating a circuit, hire a licensed electrician. In many jurisdictions, homeowner electrical work requires a permit and inspection.
- Mold behind surfaces: If removing caulk or a fixture reveals dark staining on drywall or subfloor, stop. Mold remediation behind wet-area walls is not a DIY task and may require a licensed contractor.
- Structural or plumbing changes: Moving a drain, adding a vent, or altering load-bearing walls requires permits and licensed tradespeople in virtually every U.S. jurisdiction. Always verify your local requirements before starting.
These targeted updates pair well with other manageable weekend improvements. Explore weekend projects that make a real difference for ideas that extend beyond the bathroom.
Renters: Confirm Before You Change Anything
Even reversible changes like replacing a mirror or light fixture may violate your lease if done without prior written approval. Document the existing condition with photos, get landlord permission in writing, and keep all original fixtures to reinstall when you move out. Failure to do so can result in deductions from your security deposit.