Why Sequence Is the Most Overlooked Part of Any Renovation
Most homeowners think carefully about materials and budgets before a renovation, but far fewer think through the order in which work should happen. Getting that order wrong is one of the most reliably expensive mistakes in home improvement - not because the work itself is bad, but because it has to be undone and redone.
Imagine installing drywall before an electrician has run new circuits, or laying tile before a plumber has roughed in a new drain. Both scenarios require tearing out finished surfaces to fix what's behind them. The labor and material cost of that rework can easily exceed the original job. Planning each room methodically before you swing a hammer is the single most effective way to protect your budget.
Professionals follow a logical sequence that has been refined by decades of trade coordination. Understanding that sequence - even at a high level - puts any homeowner in a much stronger position to manage a project, communicate with contractors, and avoid preventable surprises.
The Proven Renovation Sequence, Step by Step
While every project has unique variables, the following order reflects how skilled contractors approach most interior renovations. Use it as a framework, not a rigid script.
Complete demolition before ordering finish materials.
Hidden conditions - rot, outdated wiring, incorrect framing - are routinely discovered once walls or floors are opened. Ordering tile, cabinets, or fixtures before knowing what's behind the surfaces risks ordering to the wrong dimensions or spec. Waiting for demo to finish gives you accurate measurements and a clear picture of what the project actually involves.
Run all rough-in mechanical work before closing any walls.
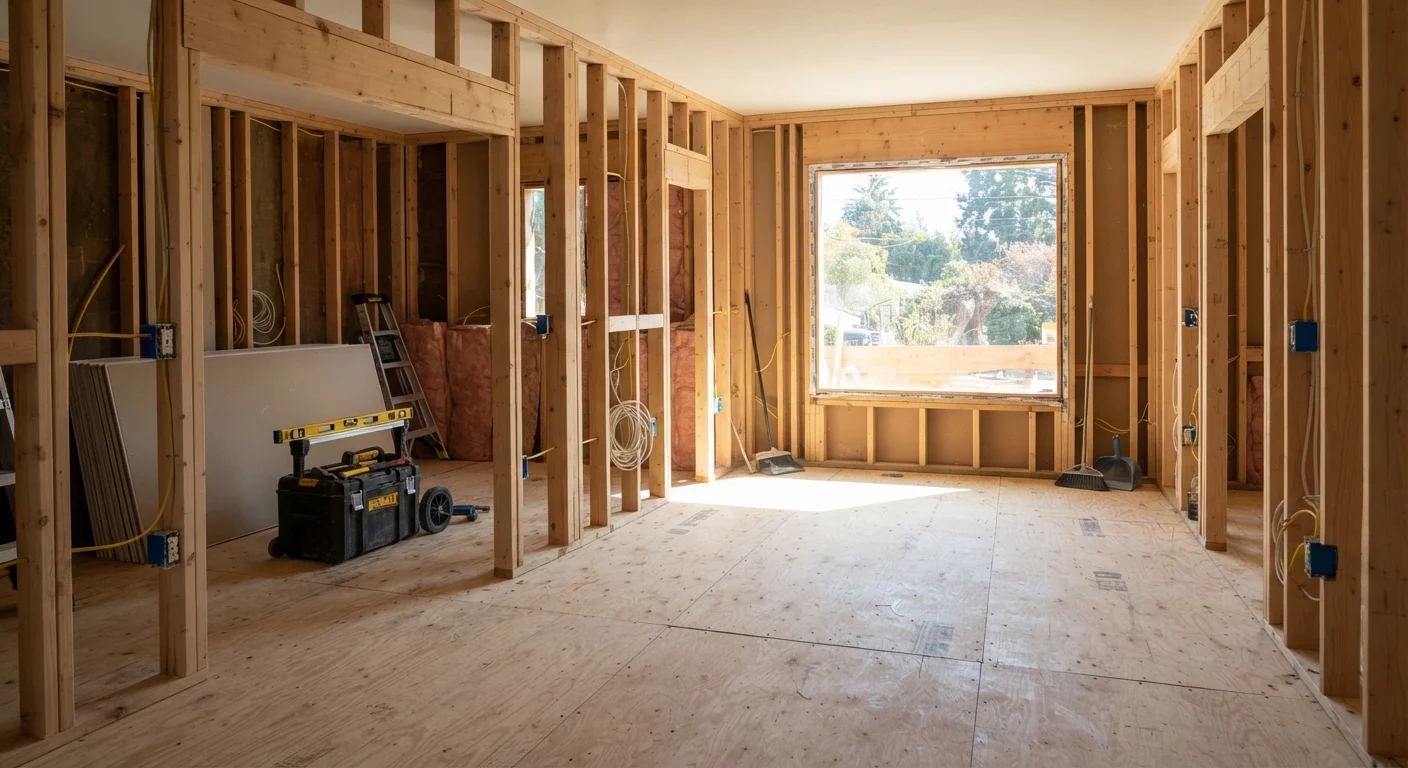
Electrical wiring, plumbing supply and drain lines, and HVAC ductwork all need to be in place - and inspected - before insulation and drywall go up. Reversing this order is the single most common cause of expensive rework. Mechanical trades also tend to be destructive by nature, so letting them finish before any finishing work begins saves surfaces from damage.
Insulate and hang drywall after mechanical inspections are approved.
Insulation goes in once rough-in work passes inspection - not before, because inspectors need to see the work. Drywall then follows, sealing in the mechanical systems. Rushing either step to save time often results in failed inspections that require walls to be opened again.
Install cabinets and built-ins before flooring.
Heavy cabinetry dragged across new hardwood or tile will scratch or crack the surface. Installing cabinets first also means the flooring doesn't need to run under them - saving material. This is the standard sequence in kitchens and laundry rooms.
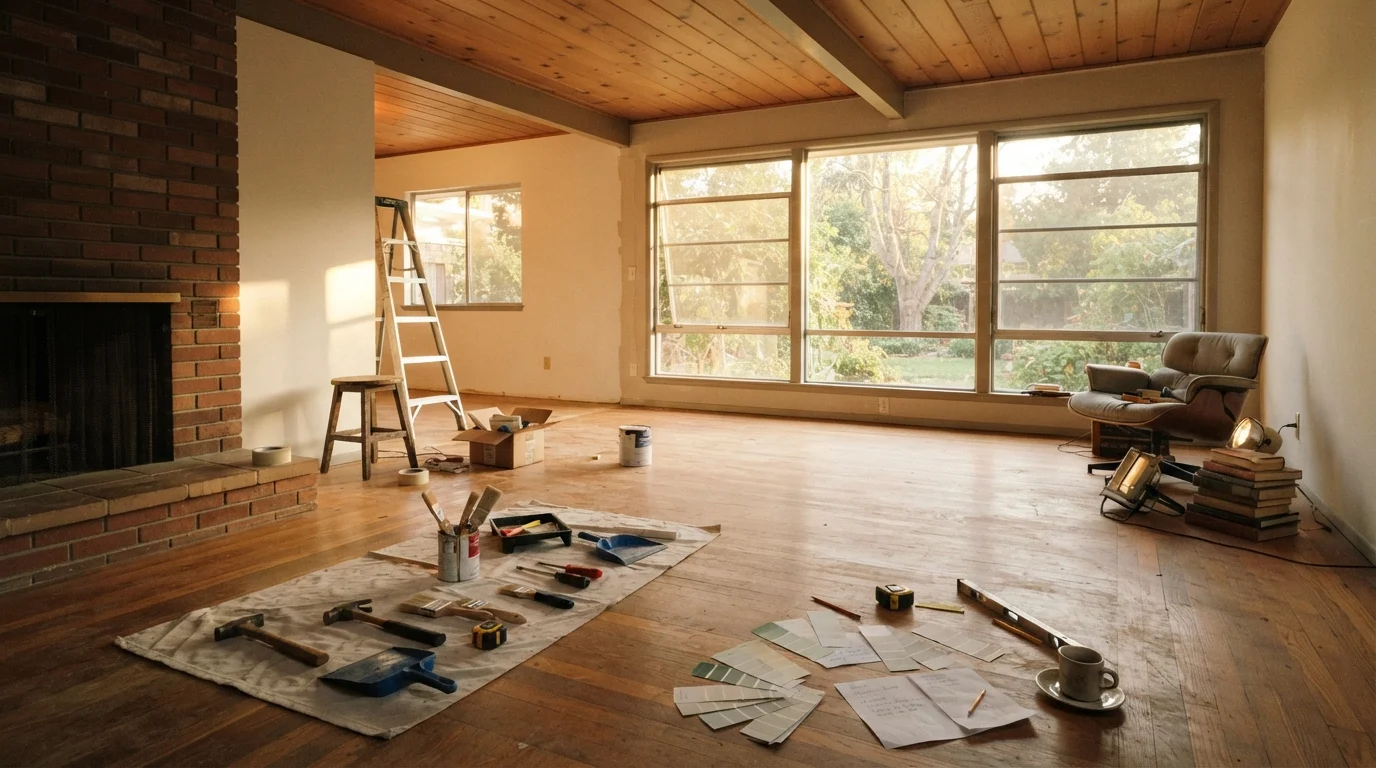
Save painting and finish flooring for last.
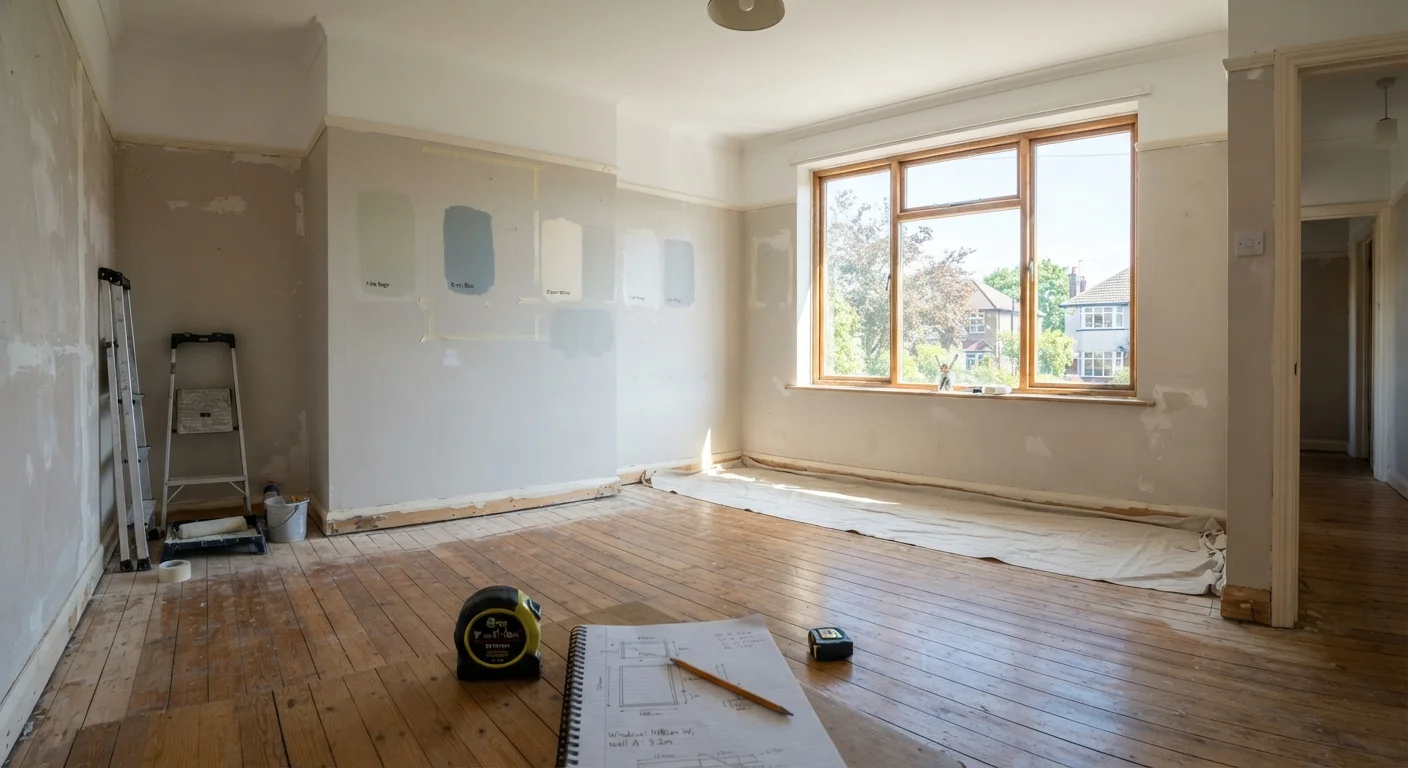
Paint is easily scuffed and stained by every trade that works after it. Finish flooring - hardwood, LVP, tile - is equally vulnerable. Doing these final steps after all other work is complete means they only need to be done once, and they arrive at the end looking clean and deliberate rather than touched up and patched.
Following this sequence also aligns naturally with the permit and inspection process. Most jurisdictions require inspections at the rough-in stage - before walls are closed - so building inspections into your schedule rather than treating them as an afterthought keeps the project moving legally and safely. Always verify your local requirements; permit rules vary significantly by municipality and project scope.
Where Homeowners Most Commonly Go Out of Order
A few missteps come up again and again, and they're worth naming directly.
Painting before patching is complete. Touch-up paint rarely matches perfectly, so any drywall repair done after painting tends to show. Save the final coat for last.
Installing flooring before cabinetry. Cabinets and heavy fixtures can scratch or dent new floors during installation. In most cases, cabinets go in first; flooring runs up to them.
Finishing before mechanical rough-ins are inspected. Closing walls before an inspection is approved means reopening them if a correction is needed. Wait for sign-off.
Doing cosmetic work while ignoring underlying issues. Fresh paint over water-stained drywall, or new tile over a soft subfloor, won't last. Address root causes first. See our guide to prioritizing home upkeep for help distinguishing urgent repairs from cosmetic upgrades.
Ask Contractors About Trade Dependencies
When hiring multiple contractors, ask each one directly: 'What needs to be done before your work can start, and what needs to wait until you're finished?' This single question surfaces scheduling conflicts early. A good contractor will welcome it; it shows you're a prepared client and protects their work too.
Quick Wins Before Your Project Starts
A few actions taken before demolition begins can prevent the most common sequencing errors - and they cost nothing but time.
If your project is bathroom-focused specifically, sequencing matters even more in a small, trade-dense space. Our bathroom refresh guide walks through how to phase targeted upgrades without the chaos of a full gut renovation.
This article is for general informational purposes only. Always consult licensed professionals for work involving electrical, plumbing, structural, or other regulated systems, and verify permit requirements with your local authority having jurisdiction before beginning any renovation project.