
Why Caulk Fails So Quickly
A fresh caulk job that starts peeling within six months is frustrating - and expensive if it leads to water damage before you notice. The good news is that premature failure is almost never a mystery. The same handful of mistakes show up in home after home, and nearly all of them happen before the caulk gun even comes out.
Caulk is an elastic sealant designed to bridge gaps between materials that shift slightly over time - tile and tub surrounds, countertop and backsplash edges, window frames and exterior siding. For it to do that job reliably, it has to bond cleanly to both surfaces. When the bond is compromised from the start, no product quality in the world saves it.
5-10 years
Expected lifespan of a properly applied interior caulk seal
Industry guidance from building trade organizations consistently cites this range when surface prep and product selection are both done correctly.
24-72 hrs
Typical full cure time before water exposure
Most silicone and siliconized latex caulk products specify this cure window on the label; dry-to-touch time is far shorter and often misread as full cure.
Understanding where the process typically breaks down puts you in a much stronger position the next time a seal needs refreshing - whether that's a bathroom, kitchen, or exterior window.
The Most Common Caulking Mistakes - and How to Avoid Them
The mistakes below apply whether you're recaulking a shower, sealing a kitchen backsplash, or weatherproofing a window frame. Each one is fixable with a small adjustment in approach.
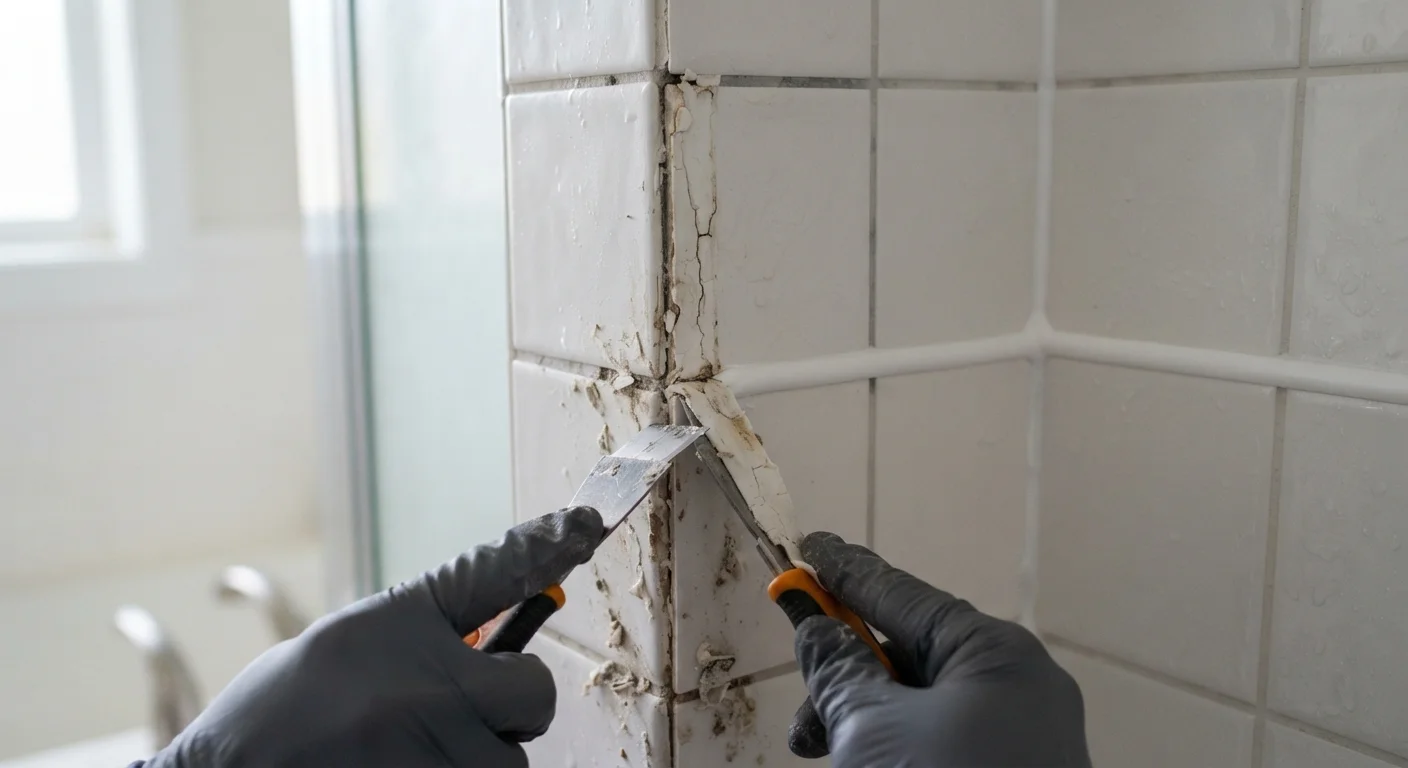
Applying caulk over old caulk residue without fully removing the previous layer.
Why it happens: Scraping out old caulk is tedious, so many people apply a fresh bead on top assuming it will bond to the existing material.
Caulking a wet or even slightly damp surface.
Why it happens: Bathtubs and showers are used daily, and many people caulk immediately after cleaning - or don't realize the surface needs longer drying time than it appears.
Choosing interior paintable caulk for wet areas like showers, tubs, or kitchen backsplashes.
Why it happens: Paintable latex caulk is widely stocked and inexpensive, making it an easy default grab at the hardware store regardless of the actual application.
Not allowing full cure time before exposing the caulk to water.
Why it happens: Dry-to-touch time - usually 30 minutes to an hour - is often mistaken for full cure time, which can range from 24 to 72 hours depending on the product.
Skipping primer or surface cleaner before caulking porous materials like grout or unfinished wood.
Why it happens: Porous materials look clean to the eye, so the need for a bonding step isn't obvious. Most quick-fix tutorials skip this detail.
Overfilling the joint with too thick a bead of caulk.
Why it happens: More caulk feels like more protection. It's an intuitive but incorrect assumption - thicker beads are more prone to cracking as the material expands and contracts.
Avoiding these errors doesn't require special skills - just a willingness to slow down at the preparation stage. Just as small, overlooked habits derail budgets (much like the pattern described in why budgets fail in the first two weeks), it's the routine shortcuts in home maintenance that lead to costly repairs down the line.
When to Call a Professional
If caulk failure is accompanied by soft drywall, mold growth behind tiles, or visible water damage, stop and consult a licensed contractor before recaulking. Resealing over active moisture damage can trap water inside walls, making structural problems significantly worse. Surface caulking alone will not fix a leaking pipe or failed waterproofing membrane.
Making Your Caulk Job Last
A properly executed caulk job on an interior wet area can realistically last five to ten years. Exterior caulk around windows and doors may need refreshing every five to seven years due to temperature swings and UV exposure - but even that timeline compresses dramatically when preparation is skipped.
The checklist is straightforward: remove all old caulk, clean and dry the surface thoroughly, select the correct product for the environment, apply a correctly sized bead, smooth it immediately, and respect cure time. None of these steps is technically difficult. The failure point is almost always impatience.
Don't Caulk Over Mold or Mildew
If you see black or pink discoloration along a caulk line, treat the mold before recaulking - not after. Sealing over mold traps it beneath the surface, where it continues to grow in a sealed, moist environment. Clean affected areas with a mildewcide solution designed for bathroom surfaces, allow the area to dry fully, and only then apply fresh caulk.
Inspecting your caulk seals once a year - during seasonal cleaning or after extreme weather - lets you catch small cracks before they allow water intrusion. A hairline crack caught early takes minutes to address; water damage behind a wall does not.