Why a Dual-Purpose Office Needs Deliberate Design
Most home offices accumulate two entirely different kinds of work: paid employment and the unpaid administrative labor of running a household. When these tasks share a surface without a system, they compete for the same physical and mental space - a work contract sits beside a dental bill, a project deadline conflicts with a car registration reminder, and neither gets full attention.
The friction isn't a willpower problem. It's a design problem. Without clear boundaries, your brain has to re-sort everything each time you sit down, which adds low-level cognitive load that compounds across the day. Deliberate zoning - even in a small or shared space - removes that friction before it starts. If you're working with limited square footage, the principles in our article on organizing a small apartment apply directly: constraints push you toward smarter, more intentional choices.
The steps below build a system that keeps work and life admin organized, separate, and easy to maintain - without requiring a room makeover or expensive furniture.
What you will need
What You'll Need Before You Start
Hanging file folders or a small filing box
Separate and store physical documents by category - work, taxes, household bills, insurance.
Label maker or printed labels
Clearly identify each folder, drawer, or tray so the system is easy to maintain at a glance.
Two desktop inbox trays
One for incoming work documents, one for personal/life admin papers - prevents mixing at the point of entry.
Digital calendar or task management app
Track both work deadlines and personal administrative tasks in one place with separate color codes or categories.
Power strip with surge protection
Consolidate charging cables and electronics at a single point to reduce desk clutter.
Buying Storage Before Building a System
It's tempting to start with bins, binders, and drawer organizers, but purchasing containers before you know what you're storing almost always results in wasted money and cluttered shelves. As our guide on why storage containers alone won't fix disorganization explains, define your categories and workflow first, then shop for what you actually need.
Step-by-Step: Setting Up Your System
Audit What You Actually Use the Space For
Before rearranging anything, spend 10 minutes listing every task you currently do at your desk - or wish you could do there without chaos. Common categories include remote work, video calls, paying bills, filing household documents, tracking a budget, and managing school or medical paperwork.
This audit tells you how many functional zones you need and how much surface area and storage each one requires. If the list feels overwhelming, our glossary of home organization terms explains concepts like zone-based storage that can help you frame the exercise.
Define Two Primary Zones on Your Desk
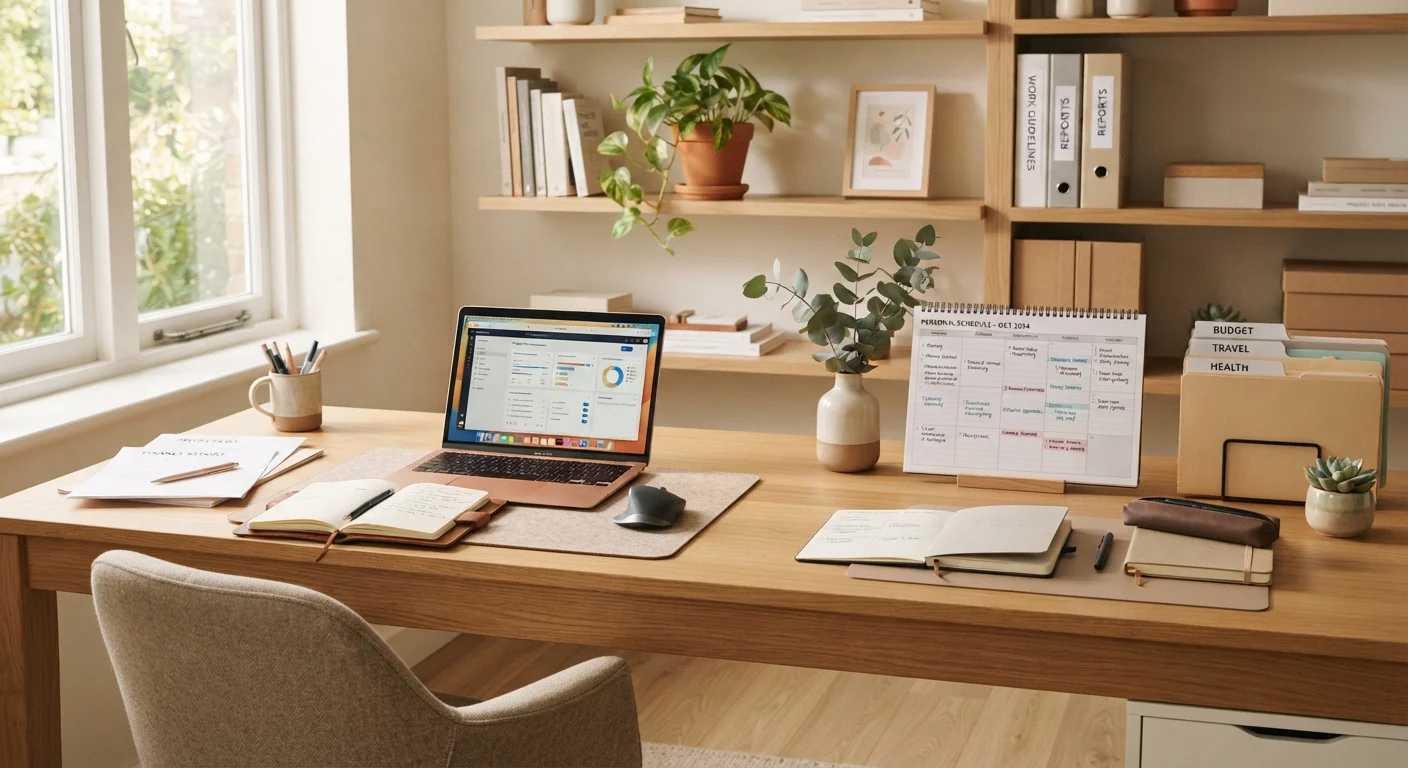
Designate the left or right half of your work surface as the work zone and the other half as the life admin zone. In the work zone, keep only what your job requires: your computer, a notepad, work-related reference materials. In the life admin zone, keep a small inbox tray, a pen, and whatever personal task is currently active.
If your desk is too narrow for side-by-side zones, use the desk surface for work and a nearby shelf or small side table for life admin. The goal is physical separation - even six inches of intentional boundary helps your brain switch modes.
Set Up a Two-Tray Inbox System
Place two stacking desktop trays at the edge of your desk. Label one Work In and the other Home In. Every piece of paper that enters the space - a printed work brief, a utility bill, a medical form - goes into the correct tray immediately. Nothing lands loose on the desk surface.
Process each tray at least twice a week: file what needs filing, act on what needs action, and recycle what you no longer need. This single habit prevents the mixed-paper pile that causes most home-office friction.
Create a Simple Physical Filing System
You don't need an elaborate filing cabinet. A small accordion folder or a box with hanging files works well for most households. Create broad categories first: Work, Taxes, Insurance, Medical, Household Bills, and Active Projects. Sub-divide only when a category grows large enough to need it.
Label everything clearly. Documents you reference regularly should be at the front; archival documents (prior-year tax returns, old contracts) can go to the back or into a separate storage box kept off the desk.
Mirror Your Physical System Digitally
Your digital folder structure should reflect your physical one. If you have a Medical folder on your desk, create a matching Medical folder in your cloud storage for scanned documents, EOB statements, and digital records. Consistent naming across both systems means you'll always know where something lives, regardless of whether it arrived by mail or email.
For task tracking, use a single digital calendar with color-coded categories - one color for work deadlines, another for personal admin tasks like license renewals or annual insurance reviews. For more on choosing the right digital tool for different task types, see our piece on note-taking apps versus word processors.
Build a Short Daily Reset Routine
At the end of each workday - or at a consistent time if your schedule varies - spend three to five minutes resetting the desk. Return items to their zones, drop loose papers into the correct inbox tray, close browser tabs, and clear any clutter that crept in. This micro-routine is what keeps the system functional over weeks and months without requiring a periodic overhaul.
For more strategies on maintaining organization as a daily practice rather than a one-time project, see habits that keep a home organized over time.
Don't Mix Work and Personal Files
Keeping employment contracts, tax documents, and household bills in the same pile creates confusion and can lead to missed deadlines or lost paperwork. Assign each category its own labeled folder or drawer from the start. Once your system is established, enforce it every time - not just during a cleanup session.
Use a Weekly Admin Block
Schedule a recurring 20-30 minute slot each week dedicated solely to life admin tasks - paying bills, reviewing insurance documents, filing receipts. Treating it like a work meeting prevents personal paperwork from bleeding into your workday and stops tasks from accumulating into an overwhelming pile.
Keeping It Working Over Time
A well-set-up office will drift back toward chaos without a few lightweight maintenance habits. The two most important: process your inbox trays before they overflow, and do the daily desk reset described in Step 6. Everything else - annual purges of old files, occasional reorganization as your work or household changes - builds naturally from those two anchors.
If your home office is shared with a partner or another household member, it's worth having an explicit conversation about which zones and systems belong to whom. Our guide on organizing a home when everyone has different habits offers practical strategies for shared space agreements that actually hold up.
The goal isn't a magazine-ready desk. It's a workspace where you can switch between roles - employee, bill-payer, planner, parent - without losing time or momentum in the transition.