Why Weatherproofing Matters Beyond the Heating Bill
Most homeowners associate weatherproofing with lower utility bills, but the benefits run deeper. A well-sealed home maintains more consistent indoor temperatures, reduces the strain on heating and cooling equipment, and protects the structure itself from moisture-driven damage like rot and mold. Drafts also carry allergens and outdoor pollutants inside, affecting indoor air quality year-round.
The U.S. Department of Energy estimates that air leakage accounts for a substantial portion of heating and cooling energy loss in typical American homes. Addressing those leaks - before investing in new equipment - often delivers better returns. Think of the building envelope (the walls, roof, foundation, windows, and doors that separate conditioned space from outside) as a system. Every gap in that system works against every dollar you spend on heating or cooling.
~25-40%
Heating/cooling energy lost to air leaks
The U.S. Department of Energy estimates air leakage accounts for a significant share of heating and cooling energy loss in typical American homes.
$0
Cost of many utility energy audits
Many U.S. utility companies offer free or low-cost home energy audits that include blower-door testing to identify leak locations.
15-20%
Potential heating/cooling savings from air sealing
The Department of Energy notes that sealing air leaks combined with adding insulation can meaningfully reduce heating and cooling costs for many homeowners.
Finding Air Leaks: A Systematic Walk-Through
Before sealing anything, you need to know where air is escaping. Start with a visual inspection on a windy day: hold a lit incense stick or a thin piece of tissue near suspected trouble spots. Movement indicates airflow. Common locations include:
- Where walls meet the attic floor
- Around recessed light fixtures that penetrate the ceiling
- Behind electrical outlets and switch plates on exterior walls
- Where plumbing pipes and wires pass through floors or walls
- Around the perimeter of the fireplace damper
- At the sill plate where the wood framing meets the foundation
For a more thorough assessment, contact your utility company. Many offer free or subsidized energy audits that include a blower-door test - a fan-based diagnostic that depressurizes the home and makes hidden leaks immediately detectable. This is one of the most reliable ways to prioritize where to focus your effort and money.
Start your leak inspection in the attic, not at windows. The attic floor is where air from the entire living space escapes, and sealing it first makes every other improvement more effective.
Because heat rises, the attic is the primary exit point for conditioned air. Prioritizing it produces the greatest reduction in energy loss per dollar spent.
When caulking, apply in temperatures above 45°F and below 90°F - caulk cures properly within that range and forms a lasting seal.
Caulk applied outside its recommended temperature range may not adhere correctly or cure fully, leading to premature cracking and air infiltration resuming within a season.
Sealing Doors and Windows
Doors and windows are the most visible weatherproofing targets, but they're rarely the largest sources of heat loss. Still, they're worth addressing - especially because the materials are inexpensive and the work is manageable without specialized skills.
Weatherstripping
Weatherstripping seals the moving parts: door edges, the bottom rail of windows, and the gap between a door and its threshold. Choose the material based on friction and wear: felt compresses easily and suits low-traffic closets; foam tape works well on window sashes; door sweeps and reinforced door bottoms handle the high-wear threshold gap most effectively. Replace weatherstripping whenever you can see daylight around a closed door or feel a draft with your hand.
Caulking
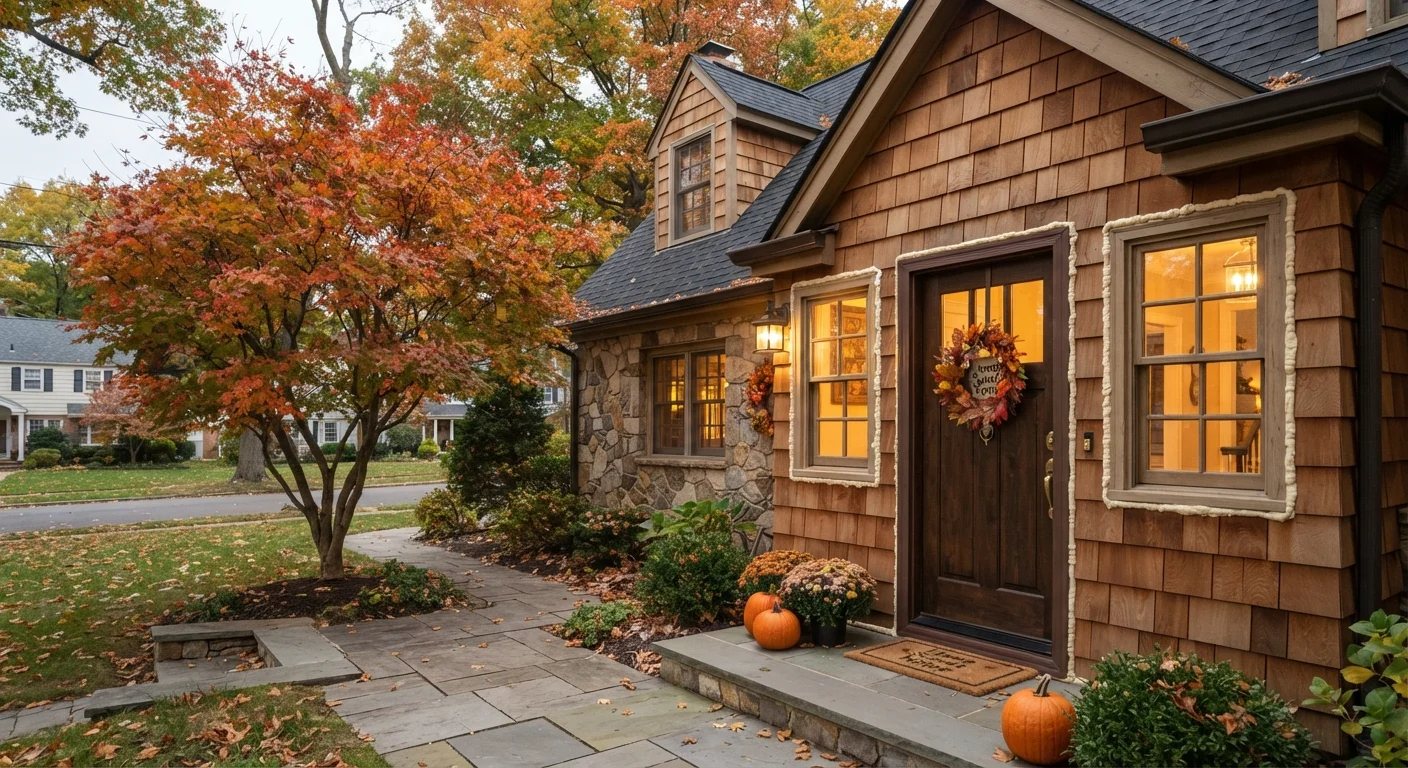
Caulk seals stationary gaps - around window frames, exterior trim, and the joint where siding meets a door or window frame. Use a paintable, flexible caulk rated for exterior use. Clean and dry the surface thoroughly before application, and smooth the bead with a damp finger or tool for a lasting seal.
For renters working in apartments, many weatherstripping products are removable and leave no damage. Draft snakes at door bottoms and temporary window insulation film are also renter-friendly options. See our weekend home improvement projects guide for more approaches that require minimal tools or landlord approval.
Test Your Door Seals in Under a Minute
Close a door on a piece of paper. If you can slide the paper out without resistance, the weatherstripping needs replacing. Do this test around the full perimeter of the door, not just at one spot. A door that passes at the sides but fails at the top or threshold is still leaking.
Insulation: The Layer That Holds It All Together
Air sealing stops uncontrolled airflow; insulation slows the transfer of heat through solid materials. Both are necessary - adding insulation to an unsealed attic is far less effective than sealing first, then insulating. The attic floor is typically the highest priority because heat rises and escapes most readily through the ceiling.
R-value measures an insulation material's resistance to heat flow. Higher R-values provide more resistance. The right target depends on your climate zone and where in the home you're insulating. The Department of Energy publishes climate-zone maps that guide appropriate R-value targets by region.
Different materials suit different applications. For a thorough breakdown of options - from fiberglass batts to spray foam - consult our insulation types explained article before purchasing materials.
Don't Seal Before You Check for Combustion Safety
Tightening a home significantly can affect the performance of gas appliances, water heaters, and fireplaces that rely on indoor air for combustion. Before major air sealing work, have combustion appliances inspected by a qualified technician to ensure they will draft safely in a tighter home. This step is often overlooked and is not optional.
Managing Moisture to Protect Your Work
Moisture is weatherproofing's hidden adversary. When warm, humid interior air contacts a cold surface inside a wall or attic, it can condense and accumulate - causing insulation to lose effectiveness, wood to rot, and mold to develop. Vapor retarders (sometimes called vapor barriers) slow moisture migration through walls and ceilings and are required in certain climate zones by building codes.
Equally important is ventilation. Attics need airflow to prevent moisture buildup - this is why adding insulation on the attic floor should never block soffit vents. In bathrooms and kitchens, ensure exhaust fans vent directly to the exterior rather than into the attic. A dehumidifier in a damp basement helps protect sill plates and rim joists that you may have just air-sealed and insulated.
If you're unsure whether your home has moisture issues before starting weatherproofing work, look for staining on ceilings, musty odors in the basement, or frost forming on interior window panes in winter. Each is a signal worth investigating before sealing up the house further.
Smart Technology and Weatherproofing: What Actually Helps
Technology can complement weatherproofing, but it doesn't replace it. A programmable or smart thermostat can reduce energy use by adjusting temperatures when you're away or asleep - but only if your home retains conditioned air reasonably well. In a leaky home, a smart thermostat has less temperature variation to optimize because the system is running nearly constantly just to maintain setpoint.
Before investing in connected devices, it's worth understanding their limitations. Our smart thermostats and energy savings article walks through the conditions that determine whether these devices actually reduce consumption for a given household.
More directly useful technology for weatherproofing includes infrared thermometers, which can reveal cold spots in walls and ceilings without any disassembly, and plug-in energy monitors that track consumption by circuit or outlet. These diagnostic tools help you target improvements rather than guess.
Smart Devices Complement - They Don't Replace - Sealing
Connected thermostats, leak sensors, and energy monitors are useful diagnostic and optimization tools, but they can't stop heat from escaping through gaps in your building envelope. Think of smart technology as the fine-tuning layer you add after the physical weatherproofing is in place. For a broader view of smart home costs and trade-offs, see our hidden costs of smart home ownership overview.
Prioritizing Projects on Any Budget
Not all weatherproofing work delivers equal return, and not every household can tackle everything at once. A practical sequence for most homes:
- Air seal the attic floor - highest energy impact, typically low material cost
- Seal the basement rim joist - another large leak zone, accessible without major disruption
- Weatherstrip and caulk doors and windows - inexpensive materials, immediate comfort improvement
- Add attic insulation - after sealing, topping up insulation is effective and often DIY-able
- Address walls and crawl spaces - more involved, sometimes requiring professional assessment
Defer projects that involve electrical, structural, or hazardous material work to licensed professionals. For guidance on which maintenance tasks are worth doing promptly versus which can wait, see spending smarter on home maintenance.
Whatever your starting point, even modest weatherproofing efforts tend to improve daily comfort noticeably. A home that holds temperature steadily is easier and less expensive to condition - and that benefit compounds over every season you live there.
Licensed Professionals Required for Certain Work
Work involving electrical wiring, gas lines, structural elements, or the removal of materials that may contain asbestos or lead paint must be performed by licensed, qualified contractors. Permits and inspections may be required in your jurisdiction before or after certain improvements. Always verify local code requirements before beginning any significant weatherproofing project.