Why No-Rewire Smart Lighting Works for Almost Everyone
The phrase "smart home" can conjure images of complex installations and professional setup fees - but smart lighting is the category that requires the least commitment. If you can change a light bulb, you can set up a functional smart lighting system in a single afternoon. Renters, in particular, benefit here: every approach in this guide is fully reversible with no damage to walls or fixtures.
If you're newer to connected home technology, our plain-language explainer on what smart homes actually are covers the core concepts without the jargon. And if you want a broader starting point before diving into lighting specifically, Building a Smart Home From Zero walks through how different device categories fit together.
Smart bulbs handle everything through software - dimming, color adjustment, scheduling - that a traditional fixture would require an in-wall dimmer switch to manage. The trade-off is that the wall switch must stay on at all times for the bulb to remain connected. Most households adapt quickly: app controls, voice assistants, and schedules replace the habit of reaching for the wall.
What you will need
What You'll Need Before You Start
This setup requires no special tools and no experience with electrical work. The items below cover the vast majority of no-rewire smart lighting configurations.
Smart LED bulbs
Replace standard bulbs to enable app-based dimming, color, and scheduling with zero wiring.
Smart plug-in lamp dimmer or switch
Converts an ordinary lamp or floor light into a smart-controlled fixture without touching wall wiring.
Smart home hub (e.g., Zigbee or Z-Wave compatible)
Required only if your chosen bulbs use Zigbee or Z-Wave instead of direct Wi-Fi.
Manufacturer's companion app
Used to pair bulbs, organize rooms, set scenes, and build automation schedules.
Once you have these elements in place, the steps below will take you from unboxed bulbs to a fully scheduled, scene-based lighting setup.
Choose a communication protocol and stick with it
Smart bulbs communicate via Wi-Fi, Zigbee, Z-Wave, or Matter. Wi-Fi bulbs connect directly to your router - easiest to start with. Zigbee and Z-Wave bulbs need a compatible hub but tend to be more reliable in large homes with many devices. Matter is a newer, cross-brand standard worth considering for future-proofing. Pick one protocol for this first setup and stay consistent - mixing protocols across a single room creates unnecessary complexity.
Install the smart bulbs
Turn off the lamp or switch off power at the wall before handling the socket. Unscrew the old bulb, screw in the smart bulb, then restore power. The bulb should flash or pulse briefly - this indicates it's in pairing mode. Repeat for every fixture you plan to include in this setup.
Download the companion app and create an account
Each bulb manufacturer provides a companion app. Download it from your device's app store, then create an account using an email address. Most apps walk you through pairing the moment you open them for the first time. Keep your Wi-Fi password handy - you'll enter it during pairing so the bulb connects to your network.
Pair each bulb to the app
Follow the in-app pairing wizard. Typically this involves tapping "Add Device," selecting your bulb model, confirming it's in pairing mode (flashing), and entering your Wi-Fi credentials. Once paired, give each bulb a descriptive name - "Bedside Left" or "Living Room Floor Lamp" - rather than a generic default. Good naming pays off immediately when you're building scenes and schedules.
Organize bulbs into rooms
Inside the app, group your paired bulbs by room - Living Room, Bedroom, Kitchen, and so on. Room groupings let you control all lights in a space with a single tap rather than adjusting each bulb individually. Most apps support this as a "Group" or "Room" feature in the device management section.
Create scenes for different activities
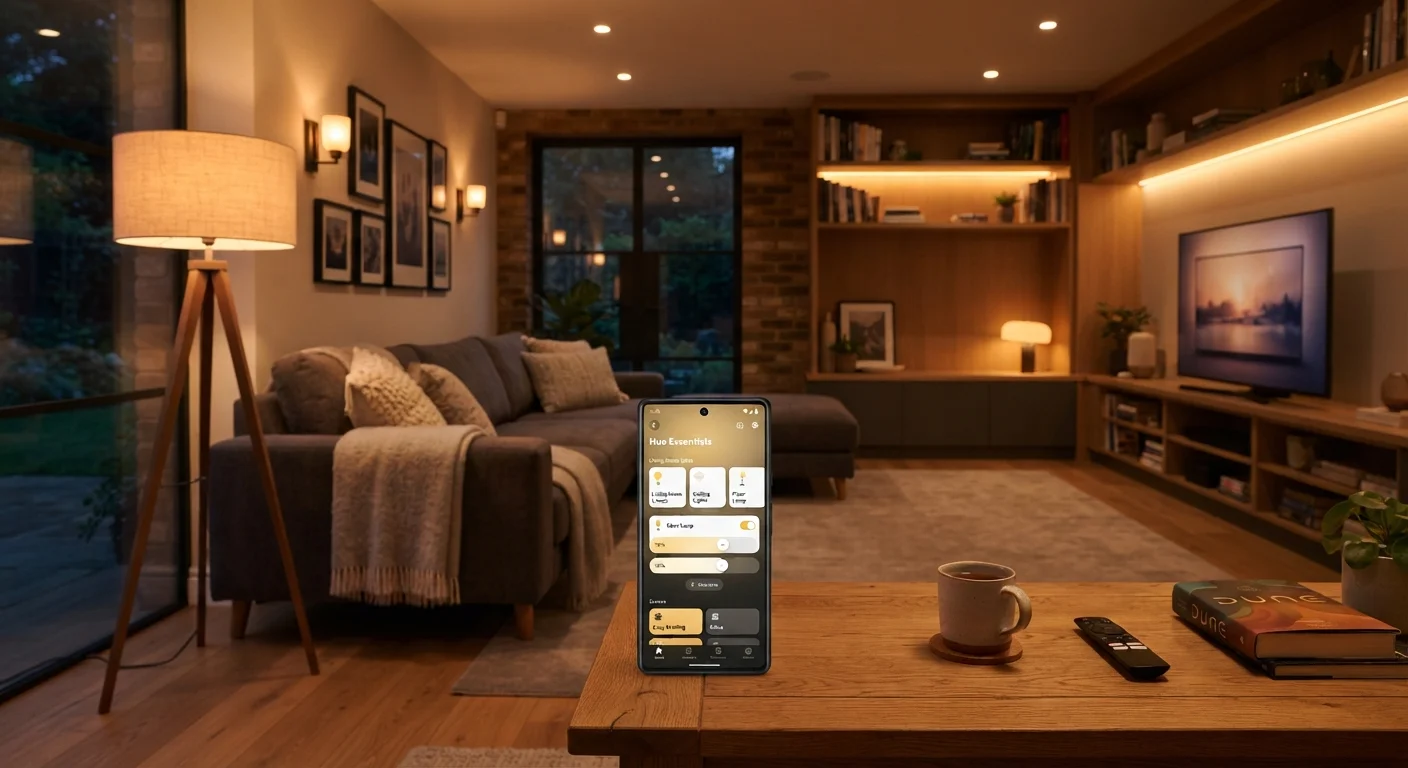
A scene saves a specific combination of brightness and color temperature so you can recall it instantly. Common scenes to set up: Morning (cool white, full brightness), Evening (warm white, 40-60% brightness), and Movie (dim warm glow, only accent lights on). In the app, navigate to Scenes or Routines, tap "Create," set each bulb's state, and save with a recognizable name.
Set schedules and automations
Schedules trigger scenes automatically at set times. A simple starting automation: activate your Morning scene at 7:00 a.m. on weekdays, and Evening scene at sunset. Most apps offer a "Sunset offset" option that adjusts the trigger time as daylight hours shift throughout the year - this is worth enabling. You can also set an "Away" automation that randomly varies lighting while you're traveling, which adds a layer of home security without any additional hardware.
Troubleshooting Common Setup Issues
Even straightforward setups occasionally hit a snag. Here are the most common issues and how to resolve them:
- Bulb won't enter pairing mode: Power-cycle the bulb by switching it off and on five times in quick succession. The bulb should flash to confirm it has reset to pairing mode.
- App can't find the bulb during setup: Confirm your phone is on the 2.4 GHz Wi-Fi band, not 5 GHz. Move closer to your router and try again.
- Bulb drops off the network intermittently: This usually signals a weak Wi-Fi signal at that fixture's location. A Wi-Fi range extender placed nearby typically resolves it.
- Wall switch keeps getting turned off by household members: Replace the wall switch plate with a smart switch cover - a button-style overlay that physically blocks the toggle but allows the switch to be pressed without cutting power to the bulb.
Start Small, Then Expand
Begin with two or three bulbs in the room where you spend the most time. Get comfortable with scenes and scheduling before adding more fixtures. Incremental expansion makes troubleshooting easier and helps you avoid buying devices you won't actually use.
For a complete look at how lighting fits alongside other smart home categories room by room, see our room-by-room device category reference. Once your lighting is running smoothly, these maintenance habits will keep your setup reliable over the long term.
Don't Use Smart Bulbs With Existing Dimmers
Installing a smart bulb in a fixture controlled by a traditional in-wall dimmer switch causes flickering, connectivity problems, and can shorten bulb life. If a fixture has an existing dimmer, either replace the dimmer with a standard on/off switch or use a smart bulb specifically rated for use with dimmers - check the bulb's packaging before installing.