Don't let a preventable breakdown derail your trip. Walk through the key systems to inspect before hitting the highway for an extended drive.
Key Takeaways
Tire pressure, tread depth, and spare condition should be verified before every long drive.
Fluid levels - oil, coolant, brake fluid, and washer fluid - are quick checks with major consequences if ignored.
Lights, wipers, and belts are often overlooked but critical for highway safety.
A basic emergency kit in the trunk adds a meaningful safety margin at minimal cost.
Most pre-trip checks take under 45 minutes and require no special tools or mechanical expertise.
Why a Pre-Trip Inspection Matters
A long road trip puts sustained stress on systems your car rarely faces during daily commutes - extended highway speeds, prolonged heat exposure, and repeated braking on mountain grades. A vehicle that runs fine around town can reveal hidden weaknesses once it's pushed for hours at a stretch.
The good news: the most consequential failure points are also the easiest to check yourself. You don't need a lift or a mechanic's credentials - just 20 to 45 minutes, a few basic tools, and this checklist. For a broader look at how vehicle prep fits into your overall departure plan, see the full road trip readiness guide covering everything from navigation to driver fatigue.
Work through the groups below in order. Flag anything that looks off and address it before you leave - not at a highway rest stop 200 miles from home.
Tires
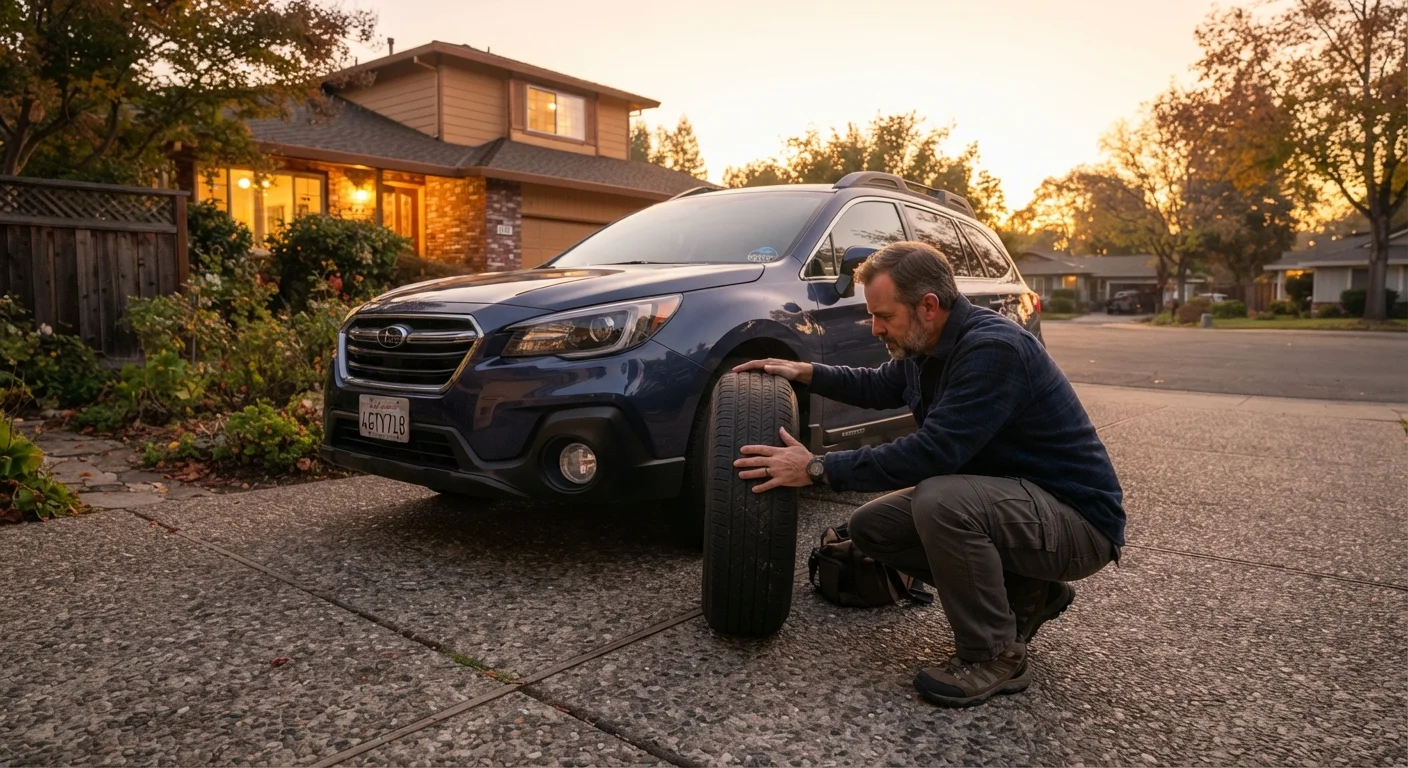
Check tire pressure on all four tires using a gauge - compare against the placard inside the driver's door jamb, not the sidewall maximum.Must
Inspect tread depth on each tire; the penny test (Lincoln's head disappearing into the tread) is a quick field method - replace tires at 2/32" or less.Must
Look over each tire sidewall and tread face for cuts, bulges, or embedded objects that could cause a blowout at speed.Must
Locate and inspect your spare tire - check its pressure and confirm the jack and lug wrench are present and accessible.Must
Fluids
Check engine oil level with the dipstick; if it's low or the oil appears very dark and gritty, change it before departing.Must
Inspect the coolant reservoir level and look for any visible leaks or mineral deposits around the cap - low coolant is a leading cause of highway overheating.Must
Verify brake fluid level in the translucent reservoir under the hood; a significantly low level can indicate a leak and warrants professional inspection.Must
Top off windshield washer fluid - a minor item that matters significantly during highway driving through insects, road spray, or construction zones.Should
Check power steering and transmission fluid if your vehicle has accessible reservoirs and you haven't done so recently.Nice to have
Lights and Visibility
Test all exterior lights - headlights (low and high beam), taillights, brake lights, turn signals, and hazard flashers.Must
Inspect wiper blades for streaking, skipping, or cracked rubber; replace any blade that fails to clear the windshield in a single pass.Must
Clean all exterior glass and mirrors before departure, and verify rear-view and side mirrors are properly adjusted.Should
Under the Hood
Visually inspect belts (serpentine and accessory belts) for cracking, fraying, or glazing - a snapped belt can disable the alternator, water pump, and power steering simultaneously.Must
Look for any visible hose damage - soft spots, cracking, or swelling near clamps - particularly on the radiator hoses.Should
Confirm the battery terminals are clean and tight; white or blue corrosion buildup around terminals should be cleaned before a long drive.Should
Brakes and Steering
During a slow roll in a safe area, apply the brakes firmly and note any pulling to one side, vibration, or grinding noise - these require professional diagnosis before highway travel.Must
Check for any unusual steering looseness or vibration at low speed; either symptom at highway speeds becomes significantly more dangerous.Must
Emergency Preparedness
Pack a roadside emergency kit including jumper cables or a jump-start pack, reflective triangles or flares, a flashlight, and basic hand tools.Should
Confirm you have a charged phone, a physical map or offline navigation download for your route, and a list of roadside assistance contacts.Must
Carry a small first-aid kit and any prescription medications you'll need for the duration of the trip.Should
Keep a quart of the correct engine oil and a bottle of coolant in the trunk for top-offs during the trip.Nice to have
Tools and Resources to Have on Hand
Most checks below are visual or sensory - no special equipment needed. A few items will make the process faster and more accurate.
Required
Tire pressure gauge
Accurately measures tire PSI so you can inflate to the manufacturer's specification, not guess by appearance.
Required
Penny or tread depth gauge
Provides a quick field measurement of remaining tire tread depth before the drive.
Required
Flashlight or work light
Illuminates the engine bay, undercarriage, and tire sidewalls for a thorough visual inspection.
Optional
Multimeter or battery tester
Tests battery voltage and cold-cranking amp output to flag a weakening battery before it fails on the road.
Optional
Tire inflator / portable air compressor
Lets you bring tires to the correct pressure at home rather than hunting for a gas station air pump.
Don't Rely Solely on Dashboard Warning Lights
Warning lights alert you after a problem has developed, not before. A tire-pressure monitoring system (TPMS) light, for example, typically activates when pressure is already 25% below the recommended level - well into unsafe territory. Physical checks catch issues that sensors miss or haven't yet flagged.
Once your pre-departure vehicle checks are complete, make sure the rest of your trip logistics are equally squared away. The pre-trip planning checklist covers reservations, documents, and emergency contacts. And if this is your first extended road trip, the ground-up planning walkthrough is worth a read before you go. For smarter driving habits on the road itself, explore the Driving & Road Life hub.
When in Doubt, Have a Mechanic Inspect First
If you notice anything during your inspection that you can't confidently evaluate - unusual noises, fluid leaks, warning lights, or brake irregularities - have a qualified mechanic look at the vehicle before you leave. Highway driving amplifies existing mechanical problems. Addressing a concern before departure is almost always faster and less expensive than a roadside breakdown or tow.
Cars Editorial Team is the collective byline for our editorial team and contributor network. Articles published under this byline or an editorial pen name are researched, written, and reviewed according to our editorial standards for clarity, consistency, and independence before publication.
The content on this site is for informational purposes only and is not a substitute for professional advice. Always consult a qualified professional for guidance specific to your situation.