The Homeowner Mindset: Maintenance Before Improvement
Owning a home for the first time is exciting - and quickly humbling. The urge to dive into upgrades is natural, but seasoned homeowners know the smarter first move is understanding what you already have and keeping it in good shape.
Think of your home as a system of interconnected parts: roofing, plumbing, electrical, HVAC, foundation, and exterior. When one element fails, it can damage others. A leaking roof left unaddressed doesn't just harm the structure above - it can lead to mold, damaged insulation, and compromised drywall below. Proactive maintenance is almost always less expensive than reactive repair.
Before planning any cosmetic improvements, walk through your home with a notepad. Look for water stains, cracked caulk around tubs and windows, soft spots in flooring, and any unusual smells near appliances. Locate your main water shutoff valve and your electrical panel - knowing where these are can limit damage in an emergency. For a practical framework on building these habits, see spending smarter on home maintenance.
Start With a Home Inspection Report
If you received a home inspection report when you purchased your home, it's one of the most valuable documents you own. Review it systematically and use it to build your initial maintenance checklist. Items flagged as minor at purchase can become major if ignored over a year or two.
Essential Tools Every First-Time Homeowner Should Own
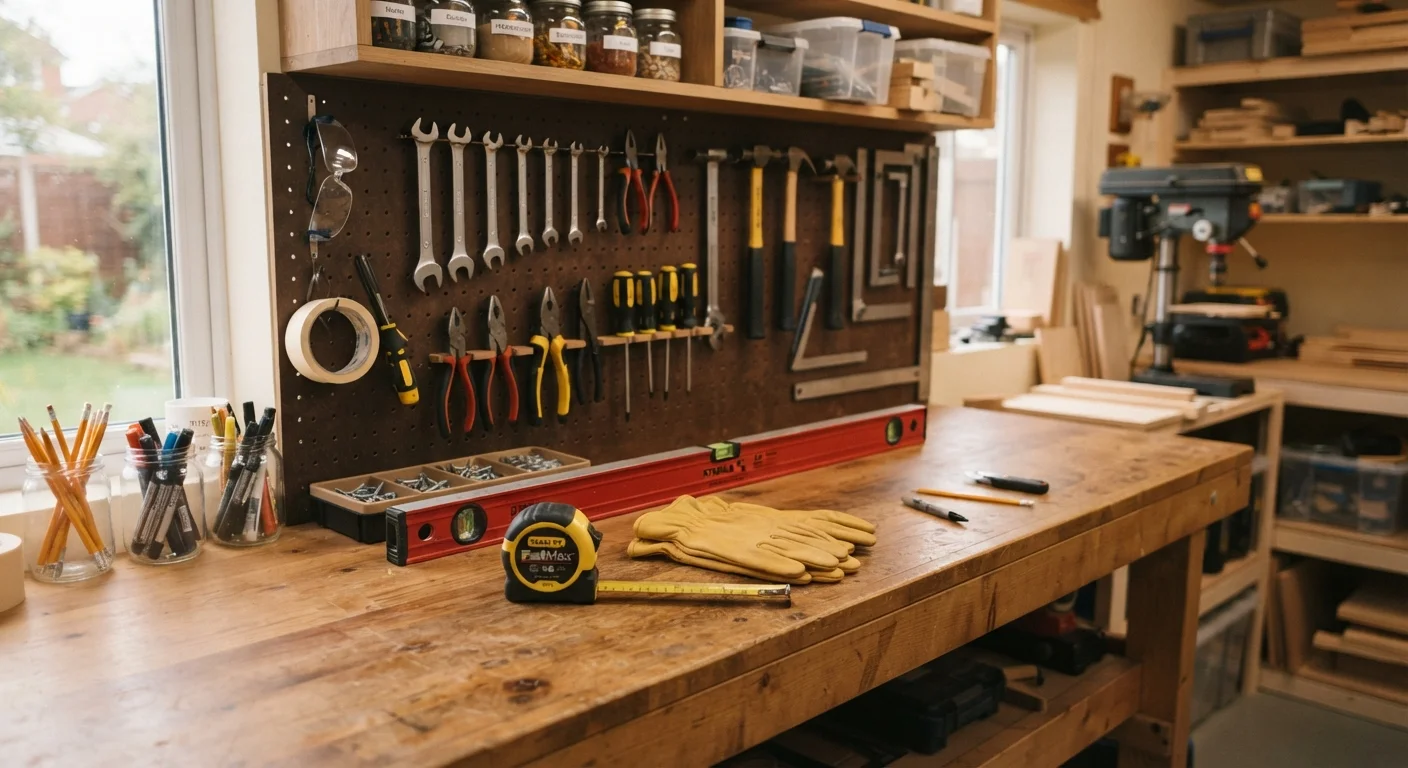
You don't need a fully stocked workshop to handle most beginner home tasks. A focused starter toolkit covers a wide range of repairs and small projects without a significant investment.
- Hammer - for driving and removing nails, assembling flat-pack furniture, and minor demolition
- Cordless drill/driver - one of the most versatile tools in any kit; handles screws and pilot holes
- Tape measure - 25-foot length is standard and handles most interior measuring needs
- Level - ensures shelves, frames, and fixtures are straight
- Flathead and Phillips screwdrivers - multiple sizes cover the majority of household fasteners
- Adjustable wrench and slip-joint pliers - useful for tightening fixtures, working on appliances, and simple plumbing tasks
- Utility knife - cutting drywall patches, scoring materials, opening packaging
- Stud finder - essential before mounting anything heavy on walls
Buy quality where durability matters most - hand tools like hammers and screwdrivers that feel solid in your hand will last decades. For power tools you'll use rarely, borrowing or renting may make more sense than buying outright.
Know the Terms: A Home Improvement Vocabulary Primer
Home improvement has its own language. Understanding basic terminology helps you follow instructional content accurately, describe problems clearly to contractors, and ask the right questions when getting estimates.
Load-bearing wall
A wall that supports the structural weight of your home above it. Removing or modifying one without engineering guidance can be dangerous and requires professional assessment.
Rough-in
The early stage of plumbing, electrical, or HVAC installation where pipes and wires are run through walls and floors but not yet connected to fixtures. It happens before walls are closed up.
Subfloor
The structural layer of flooring beneath your finished floor material (tile, hardwood, carpet). It must be stable and level before any flooring surface is installed.
Caulk
A flexible sealant applied to gaps and joints around windows, doors, tubs, and sinks to prevent water infiltration and air leaks. It degrades over time and needs periodic replacement.
GFCI outlet
A Ground Fault Circuit Interrupter outlet that automatically shuts off power when it detects an electrical imbalance, reducing shock risk. Required by code in bathrooms, kitchens, and other wet areas.
R-value
A measurement of how well insulation resists heat transfer. Higher R-values mean better insulating performance - the right R-value for your home depends on your climate zone.
When reading project instructions or contractor bids, don't hesitate to ask for clarification on unfamiliar terms. Misunderstanding a term - like assuming "rough-in" work is the finished product - can lead to incorrect expectations and unnecessary conflict.
How to Prioritize Your First Projects
New homeowners often feel pulled in every direction at once. A simple prioritization framework helps you work through improvements logically without wasting money or creating rework.
- Safety first - Address anything that poses a physical risk: faulty wiring (call a licensed electrician), gas smells (leave and call your utility provider immediately), unstable stairs or railings, and non-functioning smoke or carbon monoxide detectors.
- Structural and weatherproofing issues - Roof integrity, foundation cracks, and water intrusion should come before any interior upgrades. Cosmetic work done over structural problems is wasted effort.
- Systems maintenance - HVAC servicing, water heater inspection, and plumbing leak checks protect your investment and prevent expensive failures.
- Functional comfort improvements - Once safety and structure are confirmed, tackle projects that improve daily livability: insulation, weatherstripping, fresh paint, or updated fixtures.
- Cosmetic upgrades - Flooring, landscaping, and aesthetic changes can wait until the essentials are handled.
For project ideas that deliver noticeable results without large budgets, see weekend projects that make a real difference. And if you're considering a sequence of larger improvements, the renovation sequence that prevents costly rework walks through the logical order professionals follow.
Don't Skip Permits to Save Time or Money
Skipping a required building permit may feel like a shortcut, but it can have serious consequences. Unpermitted work may need to be removed or redone at your expense, can complicate a future sale, and may not be covered by homeowner's insurance if something goes wrong. Always check with your local building department before starting any significant project.
When to DIY and When to Call a Professional
One of the most important skills a homeowner develops is knowing their own limits. DIY work saves money when applied to tasks within your skill level - and costs more when it goes wrong in areas that require expertise.
Generally appropriate for careful beginners: painting interior walls, replacing outlet covers and switch plates, patching small drywall holes, caulking around tubs and windows, installing weatherstripping, assembling furniture, and cleaning gutters.
Always hire a licensed professional: any work involving your main electrical panel, gas lines, load-bearing walls, roof replacement, or connections to municipal water or sewer lines. These tasks are regulated in virtually every U.S. jurisdiction, and unpermitted work can create legal liability, void insurance claims, and create safety hazards.
When hiring help, get at least two to three written estimates, verify licensing and insurance, and check references. If technology is part of your improvement plans, building a smart home from zero offers a beginner-friendly entry point for that category of upgrade.
If you're renting rather than owning, the calculus changes significantly - which home improvements are worth making as a renter covers what's reversible, landlord-approved, and actually worth the investment.
This article is for general informational and educational purposes only. Always verify local permit requirements with your municipal building department, and consult licensed professionals for electrical, gas, structural, and plumbing work.